

Disclosure: This post may contain affiliate links. We may receive a small commission at no cost to you when you make a purchase using our links.
Picture Frame Molding is an easy way to add a classic, elegant touch to any space. Follow along to see how!
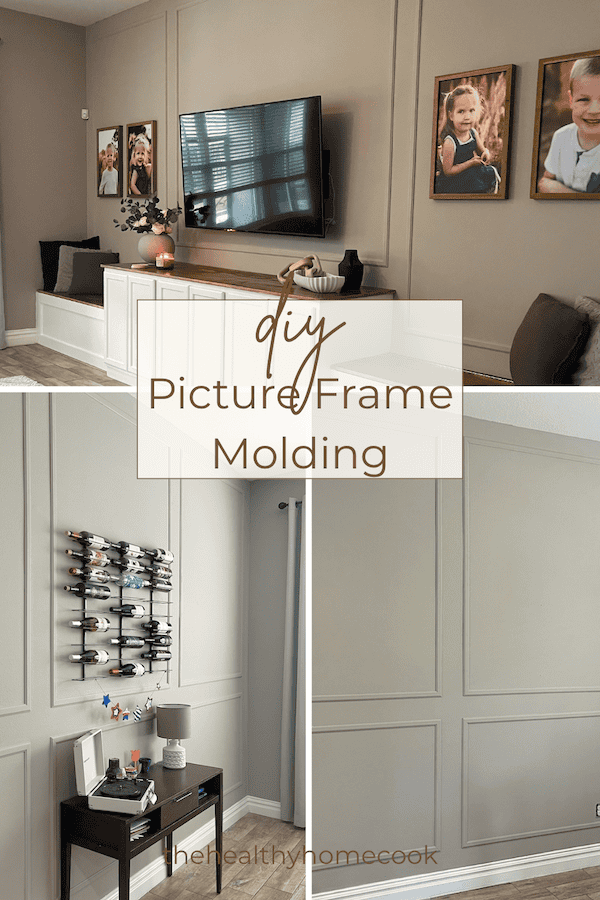
Have you been thinking about installing decorative molding in your home? I was for the longest time and finally decided to go for it. Let me tell you....it completely transformed the spaces in our home. I can't believe it took us so long to do it.
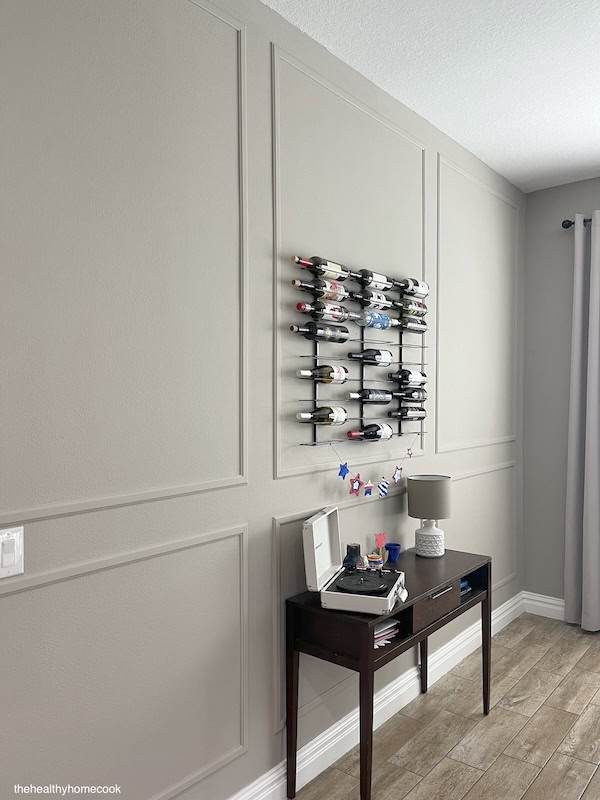
Picture frame molding is quickly gaining popularity. Adding it to your walls is a fairly easy way to elevate the appeal of any room.
There were two areas in our home that were particularly bothering me. One was our dinette and the other was our living area. Both have huge walls that never seemed complete, or to fit the rest of the house.
After some Pinterest browsing, we ended up at Lowe's the next day, determined to create picture frame molding for both areas. Luckily, my husband is always on board for our home renovation projects!
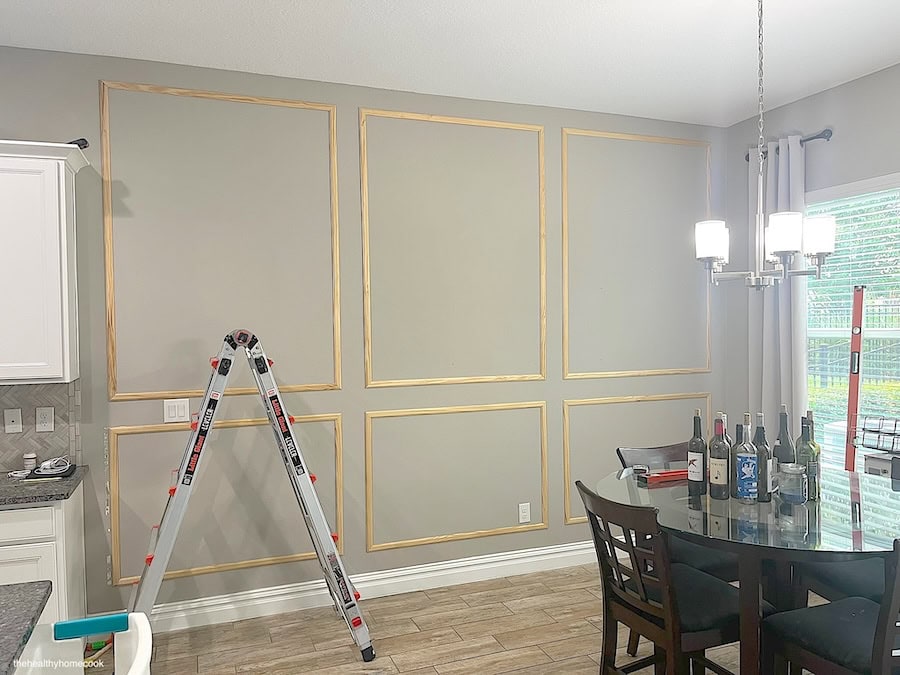
For these walls, I first used painter’s tape to help me visualize my options. Everything looks better in groups of 3, so we went with these simple versions.
In the dinette, we did two rows of 3. Using a rectangular profile with clean edges for a modern, minimalistic look.
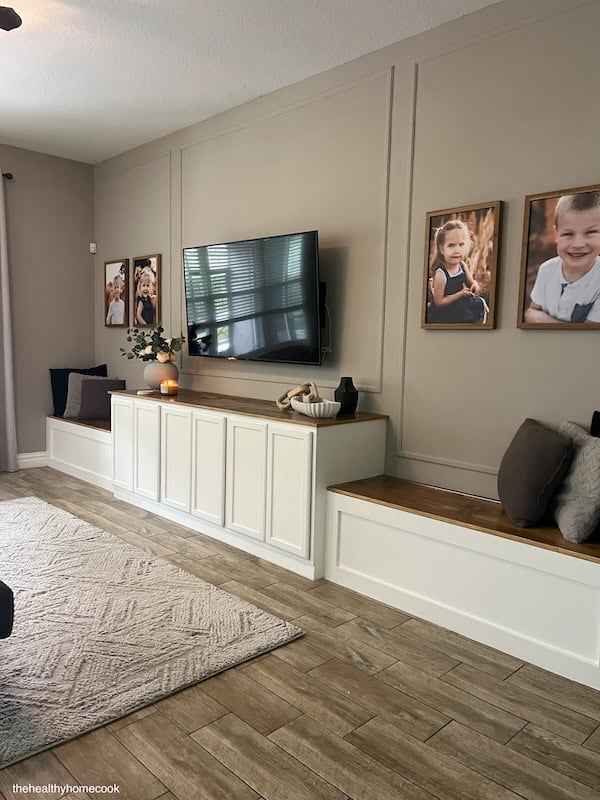
In the living area, we also went with 3 moldings, but we wanted the frames to fit the space with the build-in entertainment center. So as you can see the right and left moldings are slightly longer, while the center frame is slightly wider.
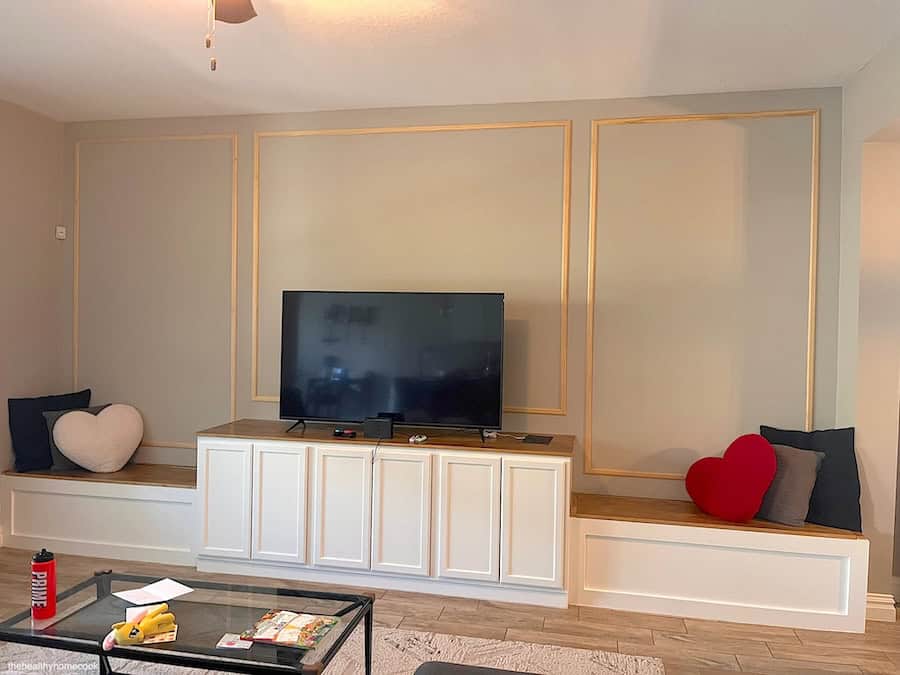
Once you measure your wall and determine what layout you prefer, it is time to decide what materials you would like to use.
TYPES OF MOLDING:
Base Cap Molding: A traditional, gently sloped profile widely used for wall frames because it is lightweight and cost-effective.
Traditional Panel Molding: Features decorative curves, steps, or bevels that add depth and a formal, high-end look.
Flat Stock Molding: Simple, flat boards that create modern, clean-lined, and contemporary geometric boxes.
We used ⅜ in x 1 ½ in x 8 ft unfinished pine for our spaces.
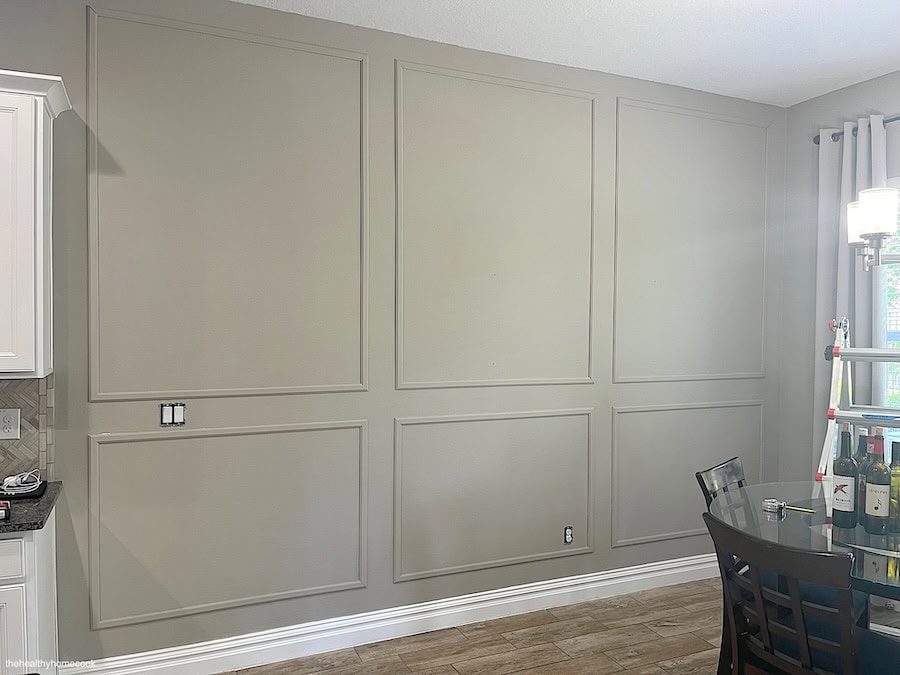
Cut your molding pieces at 45-degree angles using a miter saw, then apply wood glue to the back. Then fully secure the pieces to the wall with a brad or pin nailer.
Make sure each frame is level before caulking, filling holes with wood filler, and painting.
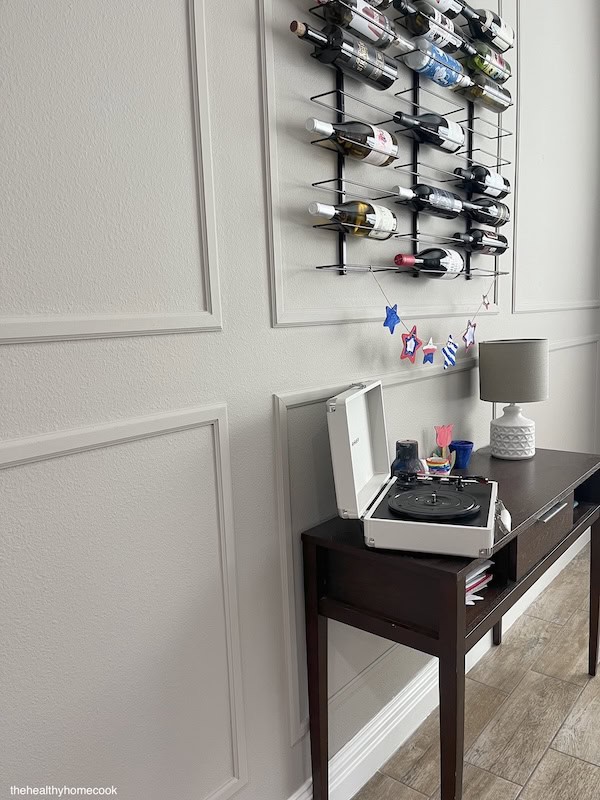
DIY Picture Frame Molding is a great way to add character and charm to any room in your home. With a little patience and attention to detail, you can transform your walls into a beautiful work of art.
Follow along for more of our DIY projects on Instagram!
Or check out these fun projects below:


Leave a Reply